ICS Blog Hop Passion for Punches!

32665355_10216915228977740_1820335104300417024_o

Thank you for hopping around with us as we showcase our Passion for Punches! You may have arrived from Deb Naylor’s blog and her fabulous project. My project is below.

My starting point was the strip of leftover Garden Impressions designer series paper. I highlighted the colors in the paper with the inks. Snippets of daffodil delight ribbon brighten the look and remind me of the sun.

2 19 18icsbloghop1-001

The ruffled embossing folder used on the garden green cardstock adds a little interest. The Pretty Label punch fits the sentiment stamp perfectly even though it was not officially designed to do so. Take a look at your punches. They may fit other stamps in this way too.

All the supplies used plus the Big Shot machine…

2 19 18icsbloghop2-001

Thank you for hopping with us. Now click on the next image below to travel to Candy Ford’s blog to see what fun colors she used in her project.

32855853_10216915229217746_6139564322663170048_o

Ink and Share Blog Hop Holiday Catalog Preview

28059369_10155813494401140_2143749391452299936_n

Welcome to our Ink and Share Blog Hop. This month, we are featuring a preview of Stampin’ Up! Holiday Catalog products designed by fellow Stampin’ Up! Independent Demonstrators. If you are hopping around, you have arrived from Linda’s blog and her fabulous project. My hop design is below and features the Another Wonderful Year stamp set.

2 19 18isbloghop-001

Custom fold over a 6 x 3 inch piece of Under the Mistletoe designer series paper to bring attention the greeting. Then travel down the card to enjoy the print. Last, provide a little pattern relief with a strip of real red and old olive card stock.

This is a design that a stack could easily be created in a short time. The patterned paper does the work of making this card fast and fabulous.

2 19 18isbloghop2-001

Thanks for stopping at my blog! Now click the next image to hop to Ingrid’s blog to see what summer themed project she designed.

28056089_10155809038661140_1202430587678687127_n

Here is a list of the participating demonstrators in case you hop off the trail.

Shirley Merker YOU ARE HERE!


If you do not already have a demonstrator, all the supplies used in my design can be ordered through my online store here . Please use the host code in the right column of my blog if your order is under $150. If it is over $150, do not use the host code so you can redeem all the host rewards.

Super Awesome Stamper Shirley

Pet Themed Blog Hop with Bella and Friends

bloghopbannerapril2018-001

I hope you are enjoying our Independent Stampin’ Up! Demonstrators Blog Hop featuring projects that are pet themed. Any pet and any type of paper crafting project is allowed this month. Even scrapbooking of dust bunnies was allowed:)

Fellow demonstrators from all over the globe are participating so we have a wide array of fun projects to share with you! You may have arrived from Elizabeth Green’s blog. She had a fabulous project!

The stamp set Bella and Friends was an immediate purchase for me when it became available. I add all the doggy themed stamps to my collection. When I become a million dollar sales achiever, I would design a doggy suite to include fun designer series paper. That sales amount is a long way off but it is good to have these details planned when the goal is achieved;)

So you guessed it, I used the stamp set Bella and Friends on my hand stamped greeting card.

8 18odbloghop1-001

The embossing folder is Scattered Sequins. Tranquil Textures is the designer series paper. A sponge dauber was used to color the doggy and add the shadow on the ground. The rest of the coloring is done with our Stampin’ Write markers.

Here are the supplies used to create this card…

8 18odbloghop2-001

Please add a comment and let me know if you have the stamp set Bella and Friends or the coordinating kitty stamp set Pretty Kitty in your collection.

Thanks for hopping with us each month. Now click on the next image to zoom to Sue Kremer’s blog and see what fun project she designed.

bloghopnextapril2018-001

All the supplies used can be ordered through my online store here.

If you do not already have a Stampin’ Up! Demonstrator, I would be happy to be yours. Ready to enjoy the demonstrator discount? Join my Super Awesome Stampers Team for the best benefits! Click the Contact button above to get the conversation started.

Here is a list of hoppers in case you get off the trail…

Ink and Share Scrapbook Blog Hop

37204438_10156175578201140_2449111616285835264_n-1

Welcome to the Ink and Share Scrapbook Blog Hop. We are Independent Stampin’ Up! Demonstrators showcasing our fabulous products on scrapbook pages. If you are on the hop trail, you may have arrived from Karen Pearmain’s blog. She had a great layout!

I decided to create a layout using my favorite color, Blackberry Bliss…

8 9 18 sbkbh1-001

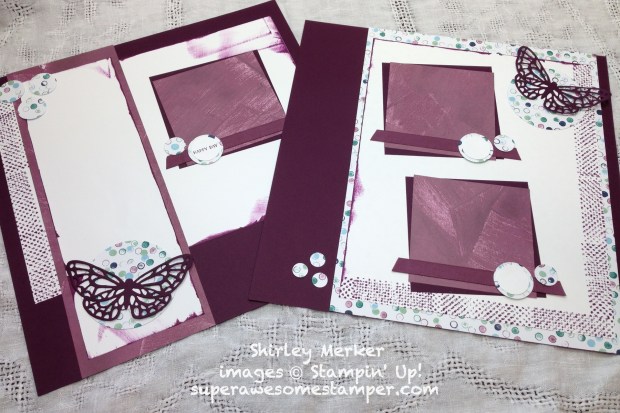
The Tranquil Textures designer series paper has a fun multi colored circle pattern so that was my starting point. The fresh fig circles had a darker outline which could be Blackberry Bliss tones.

8 9 18 sbkbh2-001

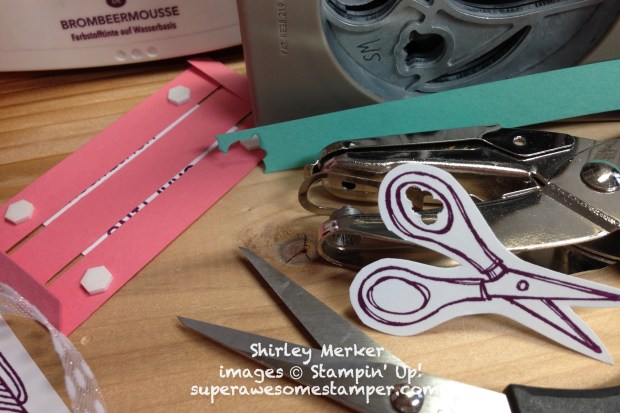
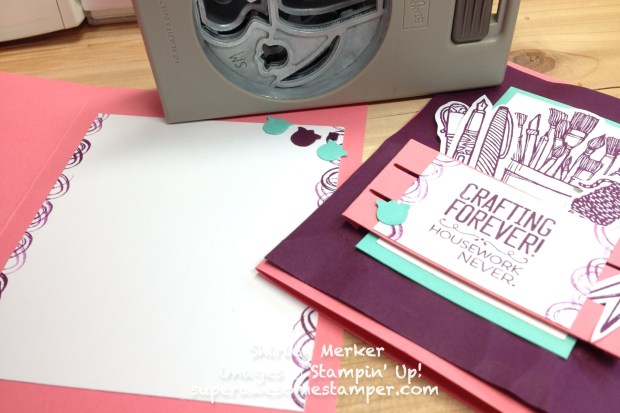
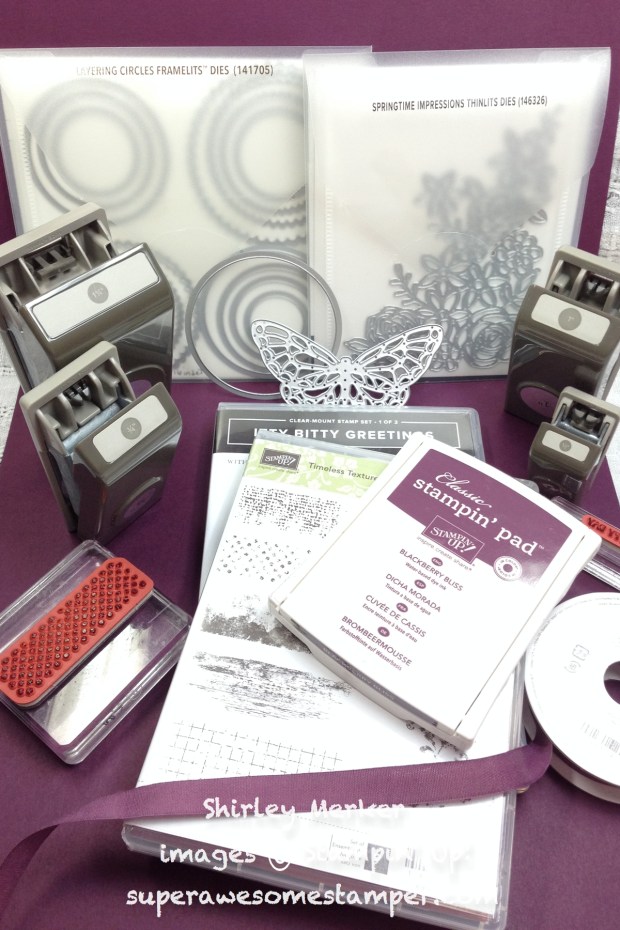
I used 1 1/4, 1, 3/4 and 1/2 circle punches along with the largest circle from the Layering Circles Framelits to enhance the circle theme.

The Blackberry Bliss ink pad was applied directly to the whisper white cardstock to mimic the printed purple designer series paper also from the Tranquil Textures package.

8 9 18 sbkbh3-001

I like to keep my scrapbook layouts pretty flat so I opted to extend the fresh fig finely woven ribbon beyond the paper mats.

The butterfly framelit from the Springtime Impressions package provides contrast.

8 9 18 sbkbh4-001

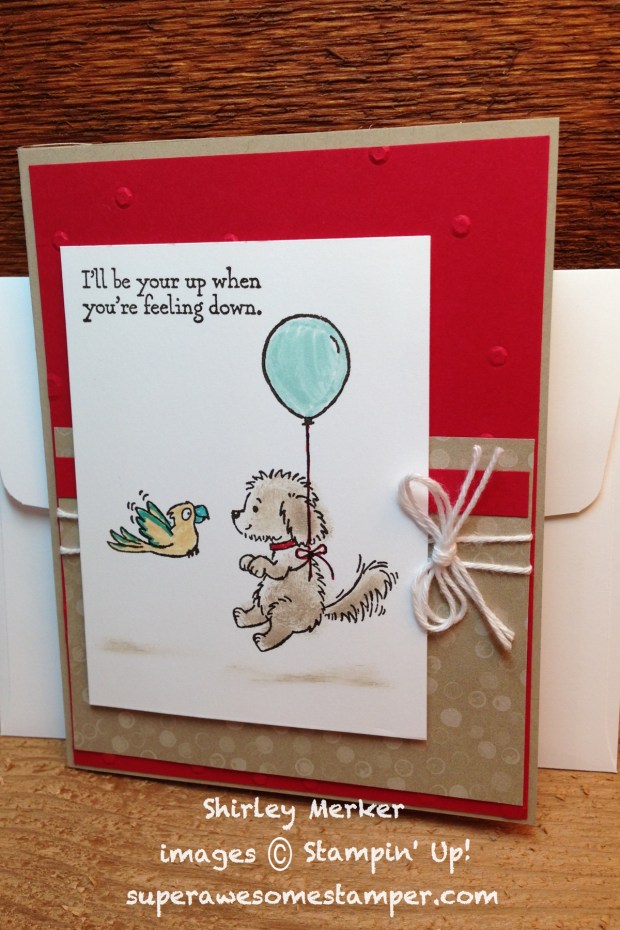
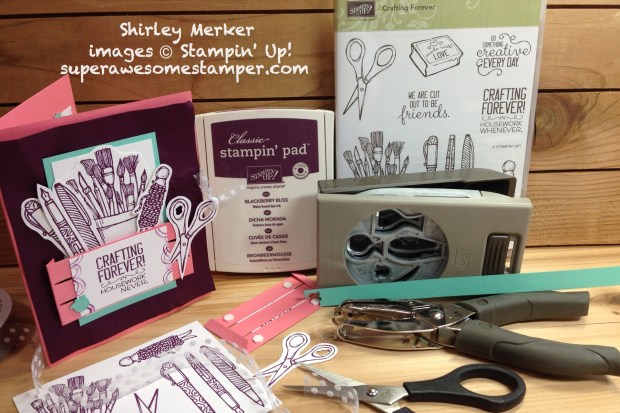
This layout was inspired by a greeting card I designed as shown below. Scrapbook layouts are just larger greeting cards with spaces to tuck memories.

8 9 18 sbkbh5-001

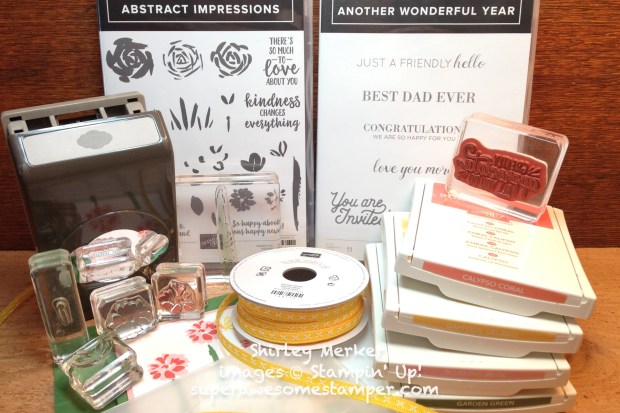
all the supplies used and the Big Shot too!

8 8 18 sbkbh6-001

Now click on the next  photo to see what Lisa Henderson has created.

28056089_10155809038661140_1202430587678687127_n

P.S. You may be wondering where the photos and journaling are. I usually add those later after I print a stack of photos. I’ll create another post when I get that done!

If you don’t already have an Independent Stampin’ Up! Demonstrator, click the Contact button above. Let me know if you are interested in scrapbooking events, greeting cards, retreats or anything else paper crafting.

All products can be ordered through my online store here. Please use the August host, EVCHY9NM, code when placing an order under $150. Don’t use the host code if your order is over $150 so you can redeem all the host rewards. Thanks!

Super Awesome Stamper Shirley

ICS Blog Hop Varied Vases

32665355_10216915228977740_1820335104300417024_o

Thank you for hopping around with us as we showcase a color challenge using the colors below. You may have arrived from Ginger Rabesa’s blog and her fabulous project. My project is below.

37037738_10217052040720133_1140109612867911680_n

I decided to use the stamp set Varied Vases and coordinating Vases Builder punch. But my stamp table had other plans for this project. I used the Vases Builder punch with a different stamp set.

The stamp set Crafting Forever was at the top of the pile since we had used it at the Card Buffet on Sunday. I picked it up because I was reading the sentiment incorrectly during the buffet. As I was thinking about the conversation I had with Diane during the buffet, I took a real good look at the writing. I was saying the verse as shown on the card below during the buffet and Diane corrected me. I was squinting at the red rubber while reading it during the buffet and had not used this verse before. I have been leaving the label off on the backside of the stamp so the stamp sticks to the acrylic block better. So there was no label to read, just the squinting at the red rubber.

7 25 18 houseworknever1-001

Raise your inky fingers if you have gotten lost in your stamp room and did not get the assigned house chores done. My hand goes up, but I am assigning the chores:) This was a funny moment during the buffet when I realized my eyes only saw what they wanted to see and I spoke what my eyes saw.

Use our 1/8 inch circle hand held punch to create the scissor holes…

7 25 18 houseworknever4-001

Attach a piece of ribbon since we mark our favorite ribbon cutting scissors this way…

7 25 18 houseworknever2-001

Use the Vases Builder punch for a pop of coastal cabana and blackberry bliss colors…

7 25 18 houseworknever5-001

Those half circle stamps are the scissor loops.

All the supplies used plus the Wood Crate framelit and blackberry bliss marker. Use the marker directly on the verse so the “whe” is not inked:)

7 25 18 houseworknever3-001

Thank you for hopping with us. Now click on the next image below to travel to Karie Beglau’s blog to see what fun colors she used in her project.

32855853_10216915229217746_6139564322663170048_o